
Don't Just Compress your Audio - Try This First for Dialogue Audio
· Audio · Post-production & software · 11:36
Our lighting and sound courses can be found here!
Before we export our videos, we all have to optimize the loudness of the audio. Traditionally, we use compression and then boost the levels. But that can sometimes sound a bit unnatural for dialogue if you have to compress the audio quite hard. Here’s a way to maybe make it a bit more transparent and easier for your audience to listen to, by using a leveler first, then just a bit of compression.
You can learn more about and buy iZotope Nectar 4 Advanced here.
Some of my other studio gear:
Gear used or mentioned
The links below are Amazon, B&H Photo, Sweetwater, or other affiliate links. As an affiliate, I earn from qualifying purchases.
- Earthworks ETHOS — microphone
- Shelford Channel — Rupert Neve Designs
- Apollo x6 — Universal Audio
Read the transcript
To get spoken-word audio loud enough for YouTube without relying solely on compression: boosting raw dialogue levels straight to YouTube’s max loudness target will just clip and distort, and heavy compression alone to tame the loud transients can start to sound unnaturally squashed. This video demonstrates a leveling-first approach instead.
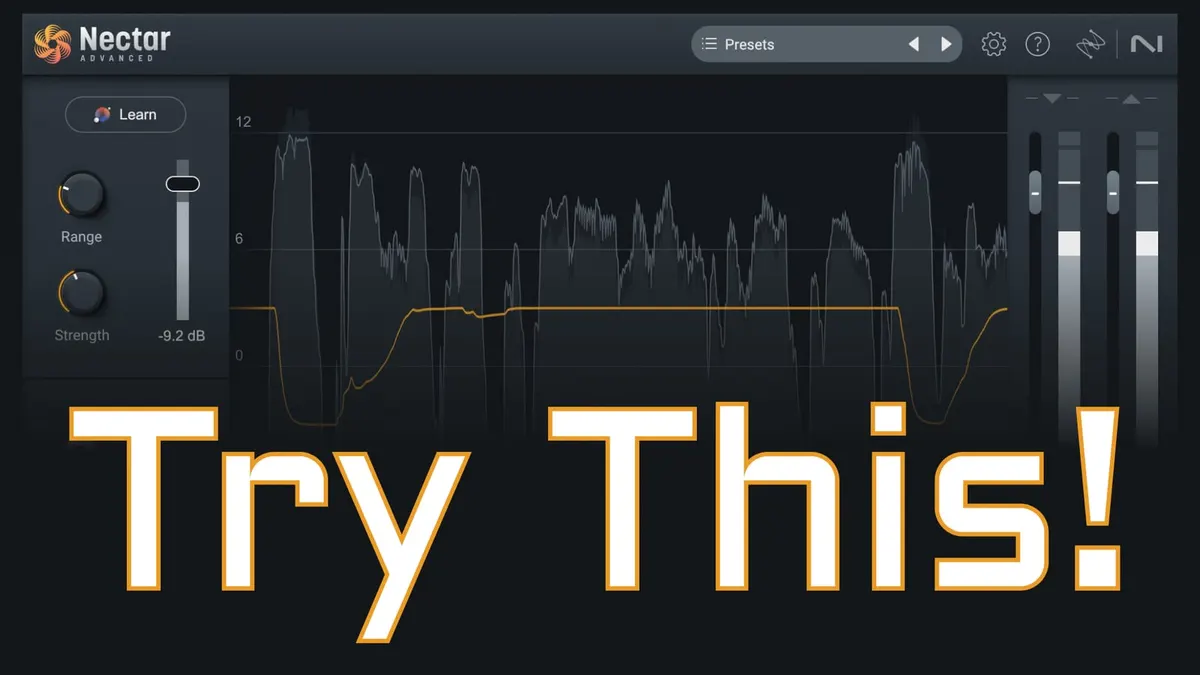
DaVinci Resolve’s built-in Fairlight dialogue leveler is okay but not great — if you use it, set it to “Optimize Moderate Levels” and turn off “Lift Soft Dialogue,” which otherwise just boosts noise and breaths between phrases. This demo instead uses iZotope Nectar 4’s Auto Level plugin (a paid tool, no affiliation) inside iZotope RX for easier visualization, though the same plugin works fine inside Resolve, Premiere, or Final Cut.
I generally target 17 LUFS for YouTube dialogue-heavy videos, even though YouTube allows up to -14 LUFS (which suits pop music but is fatiguing for long dialogue listening), aiming for a loudness range around 6 at that target. Setting up Auto Level: identify roughly where most of your dialogue sits on the meter and set the target dB there; set Range to about 3 dB rather than the 6 dB default, since 6 dB starts to sound obviously processed; leave Strength (detection sensitivity) around 40; and turn off “Tame Noise,” which tends to create more problems than it solves. The “Learn” auto-setup button isn’t reliably useful in my experience — dialing in settings manually gives better results.
After leveling, the loudness range tightened noticeably and overall loudness moved closer to target, but there’s still limited true-peak headroom to reach the final target. A light compressor pass (threshold set just above where remaining peaks stick out, ratio around 4:1, fast 0.1ms attack, 139ms release, auto-gain off) tames just those remaining transients without squashing the whole performance, freeing up enough headroom to boost to -20 LUFS mono while retaining at least 1.5 dB of true-peak headroom (important because lossy codecs like AAC or MP3 used on export eat into that headroom). Copying the mono file into both channels of a new stereo file automatically brings the measured loudness down to -17 LUFS stereo, matching the target. There’s still further polish possible — breath management, some sweetening EQ — but this leveling-then-light-compression workflow gets you to a clean, appropriately loud result without an over-processed sound. Get out there and make some great sound, and we’ll talk to you soon.