Sync Audio to Video in Resolve 18 using auto sync or manually
· Audio · Post-production & software · 9:30
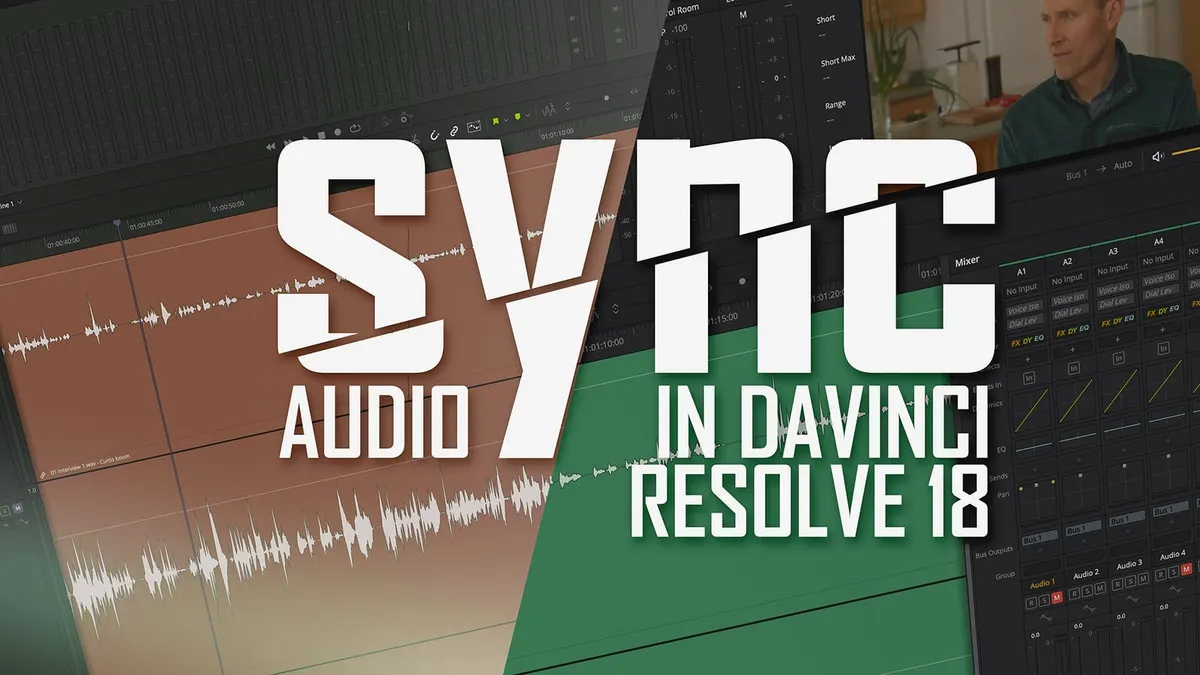
In this week’s episode, we demonstrate two ways to sync your separately recorded audio to video clips in DaVinci Resolve 18 for single and multicam video footage. The first method is auto sync based on sound — in this case, Resolve uses the audio recorded by the camera as a reference to sync up the audio from your separate audio recorder. If auto sync fails, and it will for some video formats in Resolve 18, we also demonstrate how to manually sync your audio clips to your video clips.
Gear used or mentioned
The links below are Amazon, B&H Photo, Sweetwater, or other affiliate links. As an affiliate, I earn from qualifying purchases.
- Blackmagic Design Pocket Cinema Camera 6K — B&H, DVE Store, Amazon
- Earthworks ETHOS microphone — B&H, Sweetwater, Amazon
- Sound Devices MixPre audio recorder — B&H, Trew Audio, Sweetwater, DVE Store, Amazon
- Rycote PCS Microphone Quick-Release System — B&H
- Aputure LS 300X used for background light — Aputure, B&H, Amazon
- Aputure Spotlight Mount — Aputure, B&H, DVE Store. Amazon
- Rosco Gobo creates the pattern on the back wall — B&H
- Canon C70 cinema camera — B&H
- Canon RF 24-70 f/2.8L lens — B&H, Amazon
- Schneider Radiant Soft 1 diffusion filter — B&H
- Panasonic GH5 camera — B&H, Amazon
- Panasonic 12-35mm f/2.8 II lens — B&H, Amazon
Read the transcript
[Music] foreign [Music] episode we will take a look at syncing audio to video within DaVinci Resolve or in DaVinci Resolve 18.1.2 in this particular case we will talk about a single camera syncing so for example if
I have recorded to One camera and one separate audio recorder we’ll talk about how to do that sync and also if I’ve done a multi-chem filming session so if
I’ve got two separate cameras and one audio file how to sync those up so to start we’re here in our media pool and I have this camera clip right here and this audio clip I know those need to be synced together so I’m going to go ahead and choose both of those now if I have a whole bunch of them I can just go ahead and select everything and right click and it’ll figure out what needs to be synced to what in this case we have a multi-cam set up here so I’m not going to do that that’s the only reason why but let’s go ahead and select my camera clip my audio clip I’m going to right click on either one of them come down to auto sync audio and choose based on waveform and if I do that went ahead and synced it up and how do I know it’s synced if I come to the video clip and select it and then right click if I choose clip attribute you’ll see that it says the source channel does not say embedded in fact it gives us the names that were actually recorded on our audio mixer for each of those four channels it’s a four Channel audio file so it linked it up just fine everything is good to go now you can see that when we play it back capturing uh this is my own term the tragedy of opulence so everything worked just fine there so
I’m going to go ahead and command Z undo that now just to confirm before you do the sync if you come in and get your clip attributes you’ll notice it will just say embedded Channel One embedded
Channel 2. That’s the camera audio in that case and we can just confirm that we’ll play it here super quiet but yeah you can tell that’s camera audio okay so that’s the happy path the question happens what if it doesn’t sync up correctly and let me give you an example of that so here we’re going to go into our multi-cam now I have again this camera here and then
I’m on this camera over here and then we also have this audio file here this has four channels and what we have on this is we have
Emma’s boom microphone my boom microphone Emma’s lavalier microphone my lavalier microphone now in the end we’re probably not going to use all of those but let’s go ahead and sync them up and then in fairlight later on we would do our mix and choose which of those we want but first of all we have to get all this packaged up into a multi-cam clip so how do we do that we select all of them we right click we choose create new multi-cam clip using selected Clips okay now I’ll go ahead and give that a name and we’re going to go ahead and call this our multicam um our frame rate is 23976 here for the angle sink if we want to sync based on the audio this is waveform we can choose sound and then for angle name we’ll just go ahead and leave that sequential and we’ll click create and what happens when we do that oh it’s trying oh it failed it wasn’t able to sync the interview One cam to mxf now
I’m going to go ahead and then therefore undo this because that didn’t work this file right here was filmed on a Canon
Cinema Camera namely the Canon C70 what
I’ve found over time is that DaVinci Resolve doesn’t do well with those files and for some reason that I cannot explain doesn’t at least as of this date in December 2022 doesn’t sync them up so if that’s the case how do you do it manually well let’s go ahead and run through so what I’ve done here is I select my video clip and I’m going to come into each of these video clips and the audio clip in fact go ahead and sync back here now there’s a there’s a point where Emma claps over here and we’ll use this as our sync Point okay and I can just get in the area and then I can use my right and left arrows to find the exact frame where she actually claps she’s going to get ready to clap I’m moving to the right and then boom right there that’s where she claps so I just press M on the keyboard and that creates this marker right there do the same thing on my clip you can actually see her hands at the edge of the frame whoops let’s go back to my clip and come up here go ahead and put our playhead as close as we can I’m going to write using the right arrow just there it goes Emma’s hand we’re going to listen for the clap now from our camera audio and there it is right there so I put a marker there as well see the little blue marker then I do the same thing for my audio track so we’ll come up here and I can find those claps they look like this on the waveform pretty obvious to find so I’ll use my right arrow to move to the exact frame where Emma’s first clap occurs there it is right there press M on the keyboard to leave a marker now what I can do at least in theory is come up and
I can choose all of these and right click and choose create new MultiCam clip using selected Clips so let’s go ahead and try this instead of using sound instead we’re going to choose marker so what it’s going to do is it’s going to take the marker from each of those clips and line them up and create our new multi-cam sequence from there so we’ll go ahead and name this just multicam so it’s easy to find and I’ll go ahead and click create and it created our multi-cam clip and you can see in fact it is a multi-cam clip we have our audio we have our two video clips and now we can take that into the edit page but here’s what happens if I drop this down on the timeline uh oh something’s wrong I’ve only got two channels of audio I should have had four from that audio clip that were recorded on our sound devices recorder so I’m going to undo all of this that didn’t work so here’s another kind of funky thing that for reasons I don’t understand um this did so we’re going to get delete we’re going to just get ourselves back to the start here take these drop them back up into the original the master I can get rid of that now okay we’re back at our start we have our we have our markers on each of the clips now what
I’m going to do I’m just going to go ahead and sync these two into our multicam and then we will later sync this audio in the edit page okay so first I’m going to just call this multicam and we’re going to angle sync based on the marker again we put those markers in there where the clap occurs so that they can use that to do the sink and go ahead and click create okay that’s great we’re going to come over here then to the edit page now I can take my multicam and just drop that down here in the timeline and give it a second to draw the waveforms uh there are the waveforms good I’ll also take my audio clip and drop that into the timeline down below the audio from the camera and then I can go ahead and scroll over here to the right until I find those claps well here are the claps from the audio recorder and here are the claps from the camera now normally what I could I should be able to do is go ahead and select everything right click and choose Auto align Clips based on waveform but again it fails so if it does fail that’s not a problem we can actually sync these up manually and what I can do literally is just take my playhead it’ll actually magnetically get to the markers here and then just literally visually line those up just like that if I need to zoom in I can hold down the option key and use the roller on my mouse to zoom way in to make sure I’m nice and synced up looks like it is now what I can do is go ahead and test that I’ll play that back okay that looks right so once I’ve done that I’ll go ahead and select everything and then right click and choose link clips now when I move things everything moves together and what I can do is I can mute the camera audio now and then I can also mute the other microphones I don’t want to hear this is a lot of mics we’ll we’ll go ahead and mute those for now now I can go ahead and do my edit and then once we get over into fairlight then we can do our mix and actually choose exactly which mics we want to use when do all the kind of fine tuning of the audio and then we’re good to go that’ll be another lesson for the future and in fact we are currently working on a course where we’re going to talk about how to mix in fairlight within DaVinci
Resolve so make sure you stick around for details on when that launches in the next few weeks here if you have any questions go ahead and leave those down below if you’ve not already subscribed make sure you do that and we’ll be sure to get you more great videos on how to improve your Lighting and Sound for video talk to you soon [Music] thank you