
Using NoiseAssist On Your MixPre for Clean Audio Recordings
· Audio · Post-production & software · 15:23
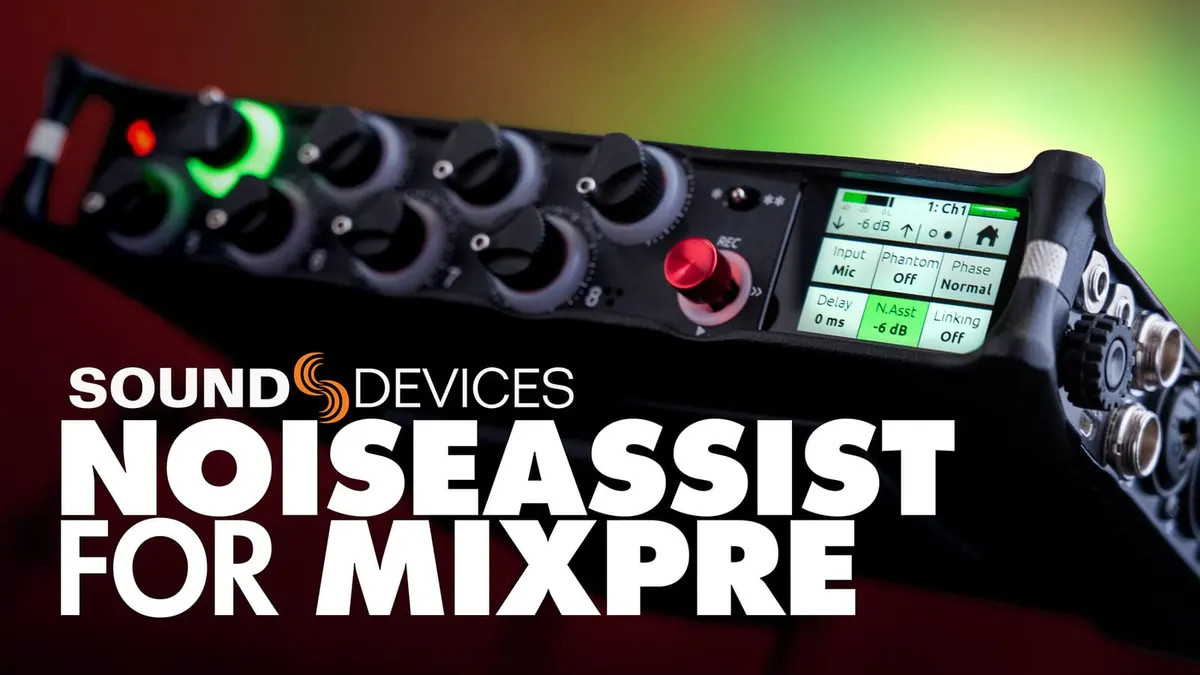
In this episode we show you how to use the NoiseAssist plugin on your MixPre recorder.
Gear used or mentioned
The links below are Amazon, B&H Photo, Sweetwater, or other affiliate links. As an affiliate, I earn from qualifying purchases.
- SoundDevices MixPre II series recorders —B&H, Sweetwater, Trew Audio, Amazon
- Sennheiser MKH 8050 boom microphone — B&H, Sweetwater, Trew Audio, Amazon
- JZ Microphones V11 large diaphragm microphone — JZ Microphones
- Sound Devices NoiseAssist plugin — Sound Devices
- Amaran 200x S LED light — B&H, Amazon, Aputure
- Aputure Light Dome II soft box — Aputure, B&H, Amazon
- Aputure Spotlight Mount — Aputure, B&H, DVE Store. Amazon
- Rosco Prismatic Glass Gobo in Cool Lavender — B&H
- Canon C70 Cinema Camera — B&H
- Canon RF 24-70 f/2.8 lens — B&H, Amazon
- Panasonic GH5 camera — B&H, Amazon
- Panasonic 12-35mm f/2.8 II lens — B&H, Amazon
Read the transcript
In this episode, we’ll take a quick look at the NoiseAssist plugin for Mixpre. Now, let’s go ahead and talk about how to actually use it. I want to– follow their instructions for installing the plugin, but what I want to talk about here is some of the settings you use here to enable it for each recording session, and what it means when they say you can use it on ‘one instance’. We’ll talk about that, and then also give you some kind of general tips for when it makes most sense and when it’s most effective, and certain circumstances where it’s not quite so effective. So let’s go ahead and jump in. First of all, you need to turn it on. So you have to be in Advanced mode or in Custom mode with the advanced features turned on. So I think the first thing to do is, of course, to come into the System menu, come on over to the NoiseAssist menu, and make sure that you turn NoiseAssist on.
Once it’s on, you can choose one channel or one part of a bus. [Laughs] Let me explain here. So if
I want to– if I’m just using one microphone, I can just turn it on for microphone input number one, for example. And I can do that right here in this menu… Actually, yeah,
I can do it right here in this menu. And all that menu is doing is enabling it so that you can then control it from that channel’s menu. So I do need to come into the channel menu here and then go to the second page and here we can apply the NoiseAssist. So the default setting is -6 dB, but you can of course tune that anywhere between 0 dB, which is essentially off, all the way to -20 dB, which is the most aggressive noise reduction. Now, a couple of things: this is different than MixAssist. MixAssist also helps manage noise when you have multiple microphones, multiple people, each talking on their own microphone. Usually people, sometimes people talk over each other, but when they’re not talking over each other, you have a bunch of open microphones that are just capturing the reflected sound in the room, any noise in the room, and that does amazing things. This is separate. This is actually like using a noise reduction plugin in post. It actually identifies what is dialogue and what is noise and it reduces the noise. Now, of course, that’s the ideal. If you apply it too aggressively, it will start to cut into the dialogue and create color or artifacting or things that you don’t want. It will actually affect the overall dialogue. So you have to be kind of careful how you set it up, but let’s go ahead and run through that. So I’m going to go ahead, right now I’m talking through a boom microphone, which is positioned right here. On this table, I also have an air filter. Go ahead and turn that on.
There it is. So we’ll set that on the table there. Now you can hear that. So what I’m going to do is I’m going to come into the channel menu for channel one, which is where my boom microphone is connected. Go to the second page and I’m going to adjust the NoiseAssist. It’s currently at 0 dB.
Let’s go ahead and put it at 6, -6 dB.
Okay, there we are at -6 dB. Now this boom microphone is approximately, I would say 30, maybe 35, maybe 40 centimeters, between 30 and 40 centimeters from me, up above me. And then the air filter is just over here. So this is what you can reasonably expect and that’s with -6 dB. Let’s go… here’s minus 12 dB. And that’s definitely cutting out the fan. There are also some other things going. This light has a fan in it.
The light that’s putting this light on the back wall also has a fan in it. There’s an air conditioner running on the next floor up. And this is what you can reasonably expect.
Here’s -20 dB of noise reduction. So it’s reducing the noise by 20 dB. And this is what you can expect in terms of how that works. Coming back down, here is the noise reduction turned off,
NoiseAssist turned off. Okay, now let’s do it with another microphone here.
This is a large diaphragm condenser microphone. I’m a little closer to this one. So let me go ahead and switch over to this microphone. Okay, now I’m talking on this microphone instead. And we don’t have the NoiseAssist turned on. So I’m goign to go ahead and turn off NoiseAssist on the first channel. So again, I have to go back into the menu, back to System.
This is where I choose which channel it’s going to be on. Hop on over to the NoiseAssist menu. Now we’re going to change it to channel number two, which is where this microphone is.
Now if I come into this microphone’s channel and I look at the NoiseAssist, it’s currently at -6 dB. Let’s go ahead and drop that down to zero.
That’s 0 dB. We can actually even move this air filter a little closer.
This is it up close. Put it down on the table right here next to me. And let’s go ahead and turn on the NoiseAssist. Let’s go to -6 dB. There we are at -6 dB on NoiseAssist. And let’s go ahead and take that to -12, there’s twice the setting. 12 dB of attenuation with NoiseAssist. And here’s -20 dB of attenuation with NoiseAssist. Now, the thing I can say is that, here again, back to 0 dB.
So we’re not doing any sort of noise reduction. Let me turn the air filter on to its high setting.
There it goes, spinning up. It’s going to make a little bit more noise this time.
All right, here we are at 0 dB on NoiseAssist. Here’s -6 dB on NoiseAssist.
It’s still, you can still hear it, but it’s taking pretty good care of it.
Here’s -12 dB on NoiseAssist. And it sounds like I can hear some of it when I talk…
But when I stop talking, it does a pretty nice job of cutting it out. What you can do too is to really evaluate it. Once you turn on NoiseAssist and get it set to whatever level you want to reduce it, let it sit for four or five seconds. It can kind of capture– it can kind of figure out, okay, what is noise and what is dialogue…and then it can adapt as you start to talk.
And here’s -20 dB on NoiseAssist. Definitely hearing some weirdness there.
It’s not magical. This is an engineering… miracle, perhaps. But it’s not perfect. So let’s go ahead and drop it back down to -6. Here’s -6.
So 6 dB of attenuation. And here’s zero. Turn it back to its low setting. Low setting is probably goign to be closer to what air conditioning sounds like in most rooms, depending on how, you know, where you have things set up in the room. And I’ll move it back so it’s sitting over here instead of right next to me here. So here’s no NoiseAssist.
And here is -6 dB on NoiseAssist. So, pretty nice job. Secrets that you need to know: you need to be pretty close to the microphone. Boom microphone here was within 35 roughly centimeters. This microphone is within probably 15 centimeters of my mouth, I would say. Maybe 20 at most.
So that’s going to be one of the biggest things. That is called signal to noise ratio. Getting as much of the signal that you want, the dialogue, and as little of the noise as you can. So the closer you have this, the more it’s going to pick up your voice, and the less of that it’s going to pick up– the noise. So if you’re having trouble, the closer you can get the microphone, the more it’s going to help with NoiseAssist. And then NoiseAssist can kind of take the edge off from there. So if I put the mic farther away,
Now I’m going to have to gain up here. Okay, so I’ve turned NoiseAssist back down to 0.
I’m going to need to gain up some here because I’m farther away now. So this is probably,
I would say, 60 or 70 centimeters away from me. I’ve had to bump the gain up quite a bit.
Probably somewhere around there is about equal volume to where I was before, or equal loudness.
Now let’s go ahead and turn on NoiseAssist. So I’m going to put it to -6 dB.
There it is at -6 dB. Not bad, not bad. -12 dB on NoiseAssist. But again, the closer you can get it to the source… I’m going to go ahead and gain down some.
The closer you can get it to the source of the dialogue, the person speaking, the better it’s going to do overall. So right now we are still at, this is actually at -12 on the NoiseAssist at the moment. So let’s go to -6. There’s -6 right there. And that’s what you can reasonably expect with NoiseAssist. So let me switch back over to the boom microphone. Okay, now we’re on the boom microphone again. Notice that we can hear a lot more of that fan, that air filter. Let me go ahead and turn NoiseAssist on for the boom microphone again. So again, I come into the System menu, go to the NoiseAssist menu, change it back to input number one.
Now I can come into that channel menu, and let’s turn on NoiseAssist to -6 dB. So there’s a little example there. Now, another consideration is that, when do you put it– what if I have more than one person talking and I want to be able to have NoiseAssist across all of them? Well, what you can do is come into the System menu, go to the NoiseAssist menu, and notice that it has left and right at the bottom. So you need to record your stereo mix.
So you’ll want to go to your Record menu and make sure you’re recording that as well. And then you can apply NoiseAssist either to the left of the stereo mix or to the right. And some people are going to be like, “Well, gosh, I wish I could do it to both left and right. Why can’t I do it to both?” Well, there’s only so much processing power in the MixPre series. So I’m assuming that’s why.
Maybe there are other reasons as well, but that’s the main thing that I know of or can imagine.
So you can apply it to the left or right. Now, when you’re recording spoken word, you really only need mono, to be 100% honest. Like if, for example, if I’m live streaming, the feed from my MixPre, say, for example, to my ATEM Mini– a little live stream switcher– I really only need a mono signal. So I can send the 3.5 millimeter output here to my ATEM Mini. And then the ATEM Mini, I can actually split that stereo signal up and just use the left where the NoiseAssist is being applied. Let’s switch it back to just the one mic since I’m just using one microphone here. So I’m going to pop back into the
System menu, NoiseAssist, and let’s apply it to channel number one. That’s my boom microphone.
And if I come in here on my boom microphone channel, we can put the NoiseAssist at about, let’s say, -12. You hear it cutting in and out there? Did a little bit of cutting in and out. And actually, you can hear it when I’m talking. I’m going to maybe bump that back to -6.
I think to me, it makes more sense to take the edge off versus really crushing all of the noise between phrases and then have it kind of cutting in and out while I’m talking. So I’d rather not have it as obvious when I’m talking. And actually, I may just adjust that down even more, maybe -4 dB. So you’re going to hear the fan still, but when I’m talking, it’s not like a really obvious effect is being applied to the audio. Now, NoiseAssist works nicely for continuous noises like air conditioning or fans. However, how does it work for other types of noises? So right now we have the NoiseAssist set to -6 dB. And what if you have noises like clapping in the background? So Emma is going to go ahead and clap for us here. And as she claps, I’m going to go ahead and keep talking and we’ll see what NoiseAssist does with those. Okay. Now, what if you have screaming children in the background? So that’s going to be another thing. Go ahead, Emma.
There’s Emma screaming in the background like a child might. But there are some examples of what you can expect in those kind of circumstances. Again, it’s going to work best for continuous noises like air conditioning or fans. Probably not as well for the transient or discontinuous noises. Now, question I’ve gotten is, “Hey, how does this compare to NoiseAssist on the 833, 888 and Scorpio?” To my ear, sounds pretty much identical. The difference is that you can apply a lot more instances. So you can apply to the left and right mix or to individual microphone channels within the 8-Series recorders as opposed to the MixPre where you get one instance. So, and again, my guess is that’s just simply down to the amount of processing power that the MixPre has versus the 8 Series. And for those that are kind of thinking, “Oh, well, this is really expensive.” First of all, MixPres are expensive– relative to Zoom recorders, field recorders, or other field recorders. Number two, I also have to pay $300 for the plugin. Well, name for me another field recorder that can also act as an audio interface, that has any sort of option for real time noise reduction. In this case, SoundDevices says that the latency that it imposes when you turn noise reduction on, or NoiseAssist on, in the 8 Series is one millisecond. I assume it’s pretty similar here in the MixPre. I don’t know that for sure, but that’s a pretty amazing thing. So yeah, if it’s not worth $300 plus the price of a MixPre to you, yeah, then don’t buy it. That totally makes sense. But if you really want that functionality, it’s really important to your workflow and it makes sense to make that investment,
I think it’s a really good buy. So if you have any questions, go ahead and leave those down below. If you’ve not already subscribed, make sure you do that. And we’ll be sure to get you more great videos on how to improve your lighting and sound for video. Talk to you soon.